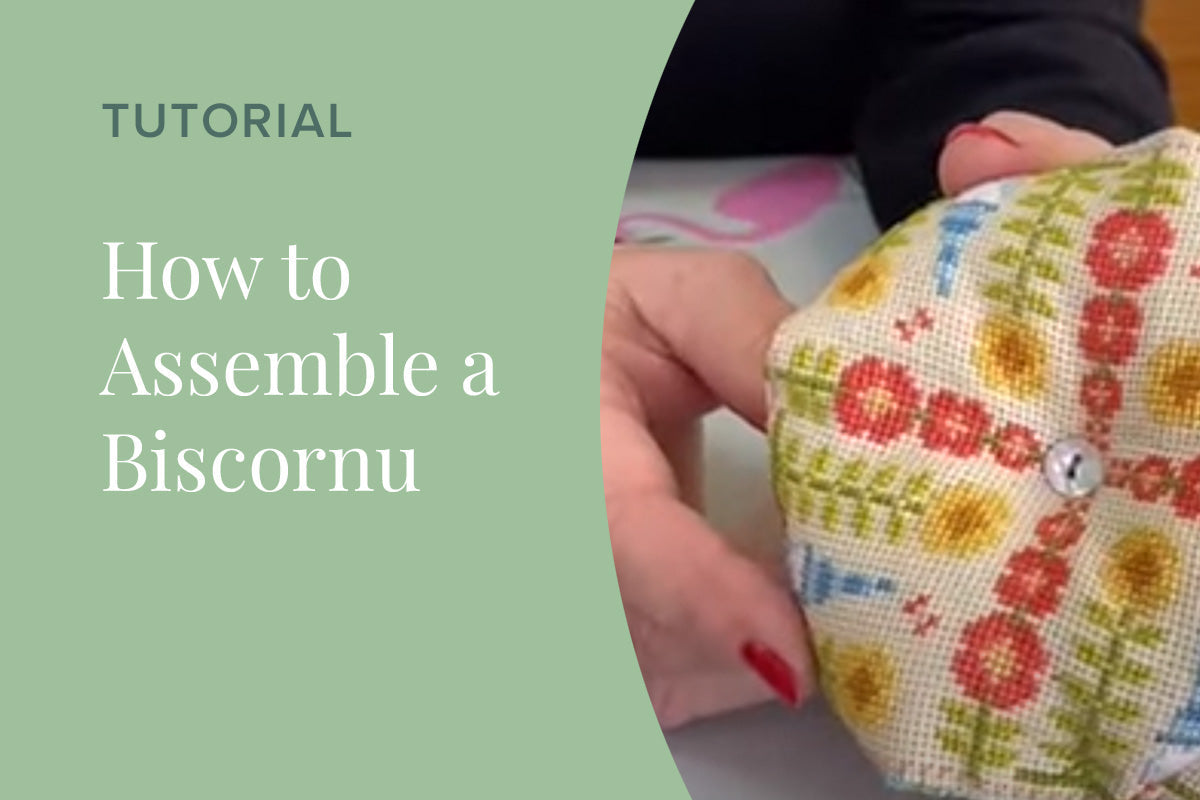
Biscornu are charming little eight-sided cushions that can be used as ornaments, pincushions, or even filled with lavender for a scented decoration. They look intricate, but assembling one is easier than you might think once you understand the process. This tutorial will guide you through each step.
What You’ll Need
- Two stitched squares (front and back designs, same stitch count)
- Backstitch guideline stitched around each square
- Embroidery floss in a colour of your choice (often matching the guideline)
- Tapestry needle
- Scissors
- Stuffing (toy filling, cushion innards, or even lavender)
- Two buttons (one for the front, one for the back)
Step 1: Prepare Your Stitched Pieces
Once you’ve completed your cross stitch designs, you should have two matching squares. Each square needs a backstitched border, which acts as a guideline for sewing. Use the same colour thread for this border as you’ll use for stitching the biscornu together.
For example: if you’ve chosen turquoise thread for sewing, stitch the border in turquoise too.
Step 2: Line Up Your Starting Point
To join the two squares, find the centre of one side of your front panel. If the side is nine stitches across, count to the fifth stitch to find the middle. Line this up with the corner of your back panel.
This offsetting is what gives the biscornu its distinctive “peaked” shape.
Step 3: Begin Stitching
Thread your needle with a doubled length of embroidery floss, leaving a loop at the end.
- Bring the needle up through the corner hole of the back panel.
- Insert it into the fifth stitch of the front panel.
- Pass the needle through the loop of thread to secure it with a knot.
You’ll now begin sewing along the guideline using a whip stitch (sometimes described here as a “blanket stitch”). Always sew into the backstitch lines: one stitch from the front piece, one from the back piece.
Step 4: Work Along the Edges
Continue whip stitching along the side, keeping your stitches snug but not too tight. When you reach a corner:
- Gently bend the fabric to turn the corner.
- Continue stitching, always matching stitch for stitch along the backstitch guideline.
The corners may feel fiddly, but with a bit of practice they fold into shape naturally.
Step 5: Sew Around the Biscornu
Sew all the way around, edge by edge, until you reach the final side. Leave one section unstitched – this will be your opening for stuffing.
Tip: Before you start sewing, lightly finger-press the edges along the backstitch guideline. Do not iron the folds – you don’t want harsh creases that make stitching awkward.
Step 6: Add the Stuffing
Through the open section, fill your biscornu with stuffing. You can use:
- Toy filling or craft wadding
- The stuffing from an old cushion
- A mix of stuffing and dried lavender for a scented version
Make sure to press the filling firmly into the corners for a well-defined shape. A slightly overstuffed biscornu will hold its form beautifully.
Step 7: Close the Final Edge
Once filled, continue whip stitching along the last side to seal the biscornu. Your cushion should now have its distinctive eight-sided, slightly peaked form.
Step 8: Add the Buttons
To finish, sew a button through the centre of the biscornu.
- Insert your needle from the front, through the stuffing, and out the back.
- Attach the back button.
- Pass the thread through both buttons several times, pulling tightly so the centre draws in and the shape becomes defined.
Knot securely, and your biscornu is complete.
The Finished Result
You now have a beautiful biscornu with neat peaks all the way around. It can be used as:
- A pincushion to keep your needles safe
- A decorative ornament for your sewing space
- A lavender sachet to scent a drawer or sideboard
