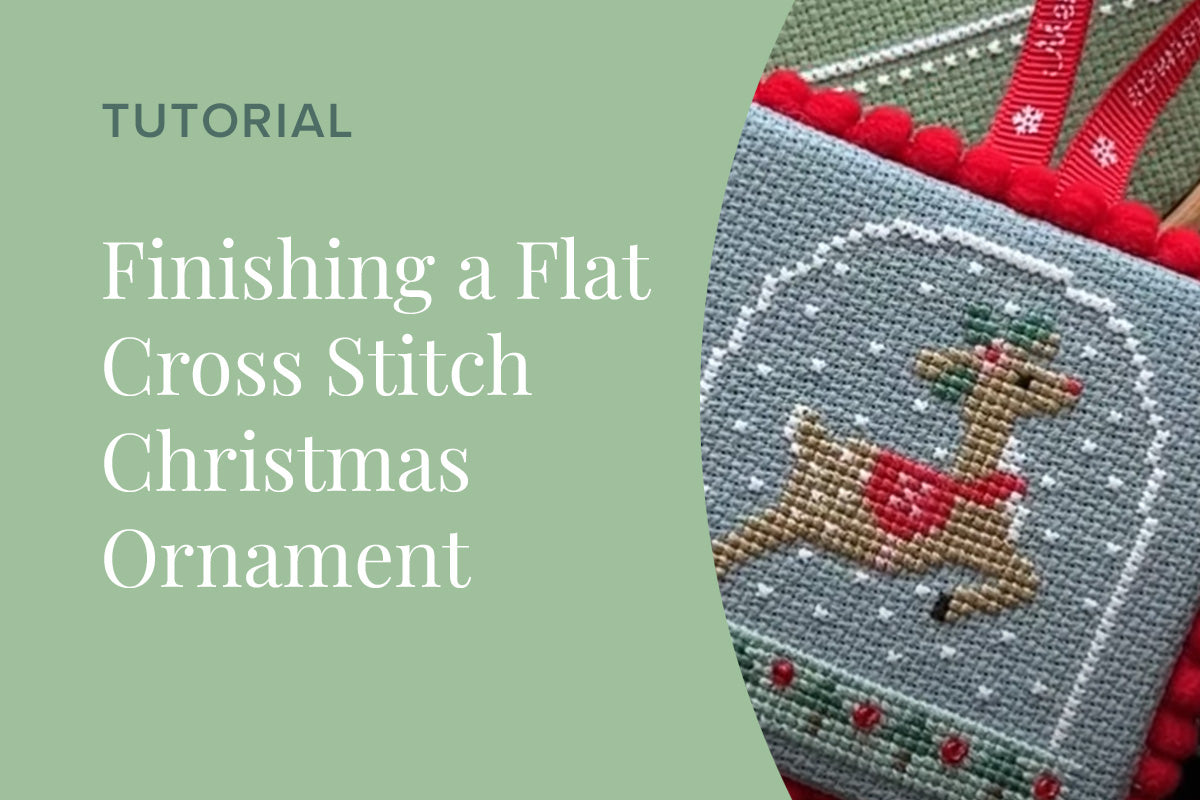
This tutorial shows how to finish a flat cross stitch ornament with pom-pom trim and a ribbon hanger — a lovely way to showcase a stitched design as festive decor.
What You’ll Need
- Stitched cross stitch motif (flat, not padded)
- Backing fabric (same size as front)
- Pompom or decorative trim
- Ribbon or cord for hanging
- Fusible interfacing (optional, for extra stability)
- Fabric scissors, small snips
- Sharp needle and matching thread
- Pins or clips
- Iron and ironing board
Step 1: Trim Your Stitched Piece
Trim the stitched fabric, leaving a margin around the embroidery. Use a ruler and pencil (or drawn-thread method for linen) to keep your edges straight.
Step 2: Prepare the Backing Piece
Cut the backing fabric to match the size of the trimmed stitched piece. If using interfacing, fuse it to the back of both front and backing fabric pieces now.
Step 3: Align and Pin
Place the stitched front and backing right sides together, aligning edges carefully. Pin or clip all around to keep layers from shifting.
Step 4: Sew Around the Edges
Using a backstitch or small running stitch, sew around all edges. Leave a small opening (about 2 inches) for turning and inserting the trim ribbon. Reinforce corners if needed with extra stitching.
Step 5: Turn Right Side Out
Clip corners carefully (without cutting your stitches), then turn the ornament through the opening. Use a tool (like a chopstick) to push the corners out neatly.
Step 6: Insert Trim and Hanger
- Thread the ribbon or cord through the top (or desired side) opening so it becomes the hanger.
- Lay the pompom trim around the edge of the ornament, matching waves of the trim.
- Sew the trim in place by hand, catching both front and backing fabrics in small stitches along the trim’s edge.
Step 7: Close the Opening
Stitch the remaining gap closed using a ladder stitch or small slip stitch. Make sure your stitches are neat and the trim covers the seam.
Step 8: Press & Final Touches
Use a gentle steam from the back side to press the ornament, setting the shape. Trim any excess threads and make sure the ribbon hanger lies flat.
The Finished Ornament
The result is a crisp, flat ornament edged with pompom trim and ready to hang. Use it on a tree, in a window, or as a decorative gift tag.
