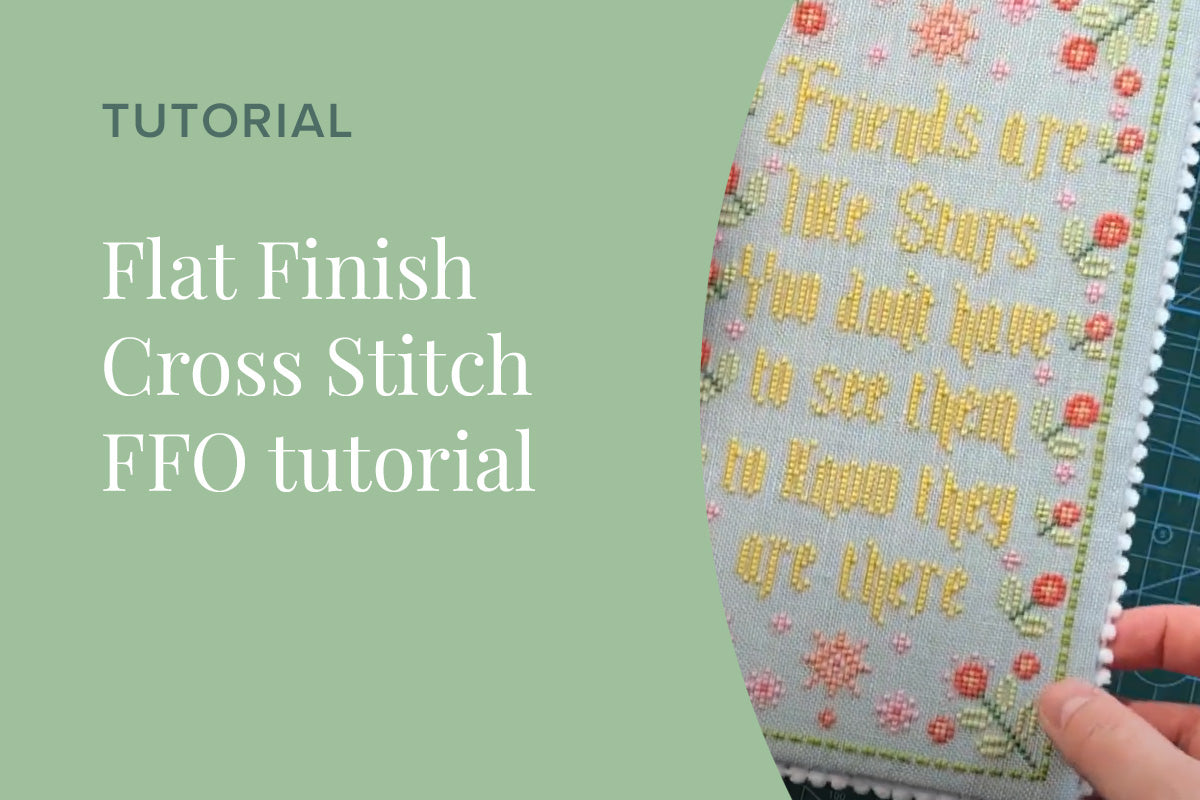
This tutorial demonstrates a “flat finish” method to turn a cross stitch piece into a sleek, framed-style finish — ideal for designs that don’t require deep padding.
What You’ll Need
- Completed cross stitch piece
- Backing fabric (same or slightly larger size)
- Lightweight fusible or sew-in interfacing (optional for stability)
- Mounting board or thin stiff backing (foam board, mount paper, etc.)
- Sharp scissors, small snips
- Needle and thread matching project
- Pins or clips
- Ruler and pencil for marking margins
- Iron and ironing board
Step 1: Trim Your Stitched Piece
Trim around the stitching, leaving a margin to allow for folding under the edges. Use a ruler for a straight line or use the drawn-thread method on linen.
Step 2: Prepare the Backing & Interface
Cut the backing fabric slightly larger than the stitched piece. If desired, fuse interfacing to the back of both the stitched piece and backing fabric to add stability.
Step 3: Mount on Board
Place the stitched piece centered on your mounting board. Gently wrap and fold the excess fabric around the edges of the board, securing to the back with pins or temporary adhesive.
Step 4: Attach Backing Fabric
Align the backing fabric over the mounted piece, wrong side facing out. Wrap edges down and either hand stitch or glue the backing to the underside of the mounting board, keeping tension even so the front stays flat.
Step 5: Fold Corners Neatly
At the corners, fold the backing fabric neatly so it lies flat and avoids bulk. Tuck folds in and secure with tiny stitches or adhesive, ensuring corners are crisp.
Step 6: Final Press & Check
With the piece laid flat, give it a gentle press (using a pressing cloth) to set everything in place and eliminate any minor wrinkles. Inspect edges and corners, adjusting any loose fabric or puckering.
The Finished Flat Piece
The result is a professional-looking flat cross stitch finish, perfect for framing or displaying as a slim ornament. The stitches stay visible and unobstructed, with clean edges and a neat backing.
