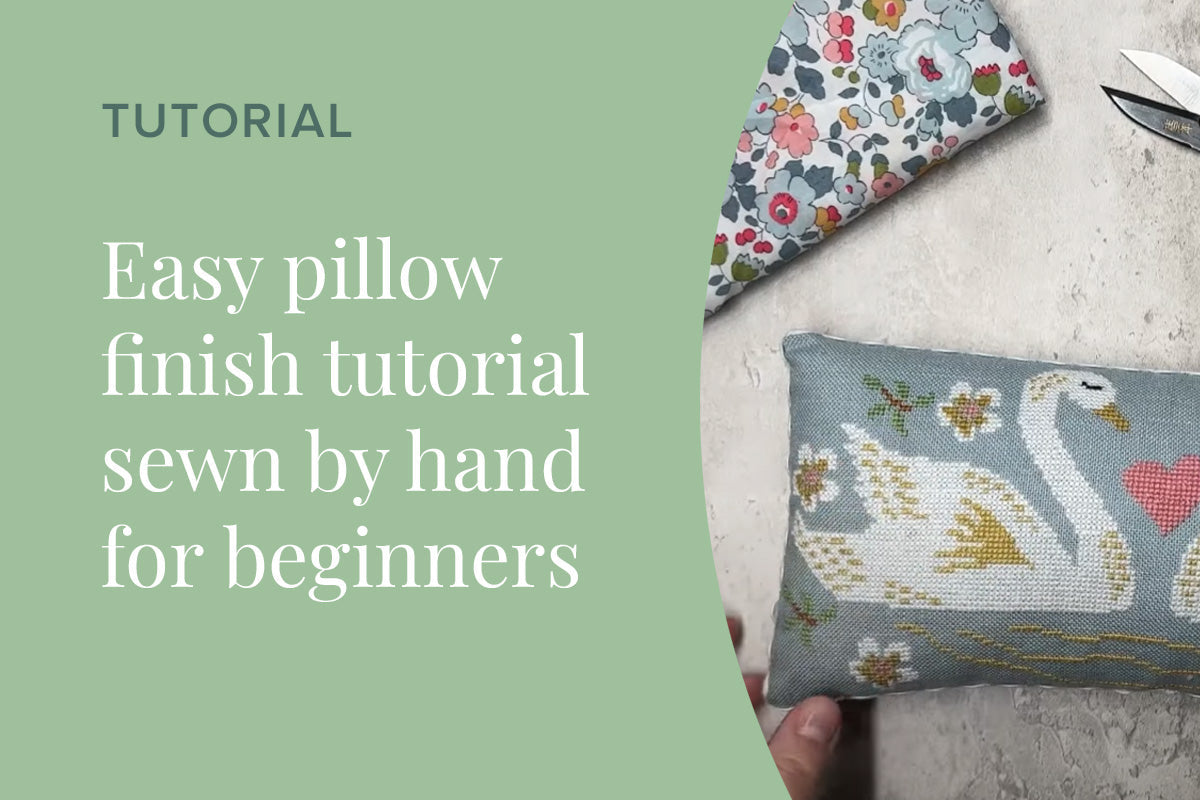
This month’s Cotton & Twine subscription box project can be finished beautifully as a simple, elegant pillow — all sewn entirely by hand. No sewing machine needed! Follow along with this tutorial to create a professional finish you’ll be proud to display.
What You’ll Need
- Fully stitched piece
- Backing fabric
- Rickrack trim
- Lightweight fusible interfacing (e.g. Pelon P44F)
- Fabric scissors, rotary cutter, small snips
- Quilting ruler and pencil
- Sharp needle and strong thread
- Pins or magic clips
- Thimble
- Chopstick or corner-turning tool
- Polyfill stuffing
- Iron and ironing board
Step 1: Trim with a Seam Margin
Leave ¾ inch all around from the outermost stitched edge. Use a quilting ruler and pencil to draw your cutting lines. On linen, you can use the drawn thread technique to keep edges straight. On aida fabric, simply cut along the weave.
Step 2: Prepare and Fuse Interfacing
Cut two pieces of interfacing (around 11" × 7"). Iron one to the back of your stitched piece and one to the back of the backing fabric, glue side facing the fabric. Press lightly to remove wrinkles first, then fuse at a low heat.
Step 3: Trim to Final Shape & Mark Seams
Trim your stitched piece to the exact size using your drawn thread or margin lines. Use it as a template to cut the backing piece. On the back of the stitched piece, mark a ¼-inch seam line to guide your stitching.
Step 4: Pin and Sew the Pillow Edges
Place the stitched piece and backing right sides together. Pin or clip in place. Backstitch around all sides, reinforcing the corners with extra stitches. Leave a 2–3 inch gap along the bottom for turning and stuffing.
Step 5: Clip, Turn & Shape
Clip the corners carefully without cutting into stitches. Turn the pillow right side out through the gap. Use a chopstick to push out the corners and run along the seams. Press gently from the back to neaten.
Step 6: Stuff the Pillow
Fluff and separate your filling before inserting it. Start with the corners, then fill the rest firmly. A tightly stuffed pillow will hold its shape better over time.
Step 7: Close the Opening
Use a ladder stitch to sew up the turning gap. Don’t worry if your stitches show slightly — they will be hidden by the trim.
Step 8: Attach Rickrack Trim
- Start at the bottom seam and secure the end with a small stitch.
- Work around the pillow with a zigzag hand stitch, catching the front and back fabric alternately along the waves of the trim.
- At corners, take extra care to cover the seams neatly.
- When you return to the start, overlap the trim slightly and secure with a few stitches.
Step 9: Final Press & Admire
Give your finished pillow a gentle steam press from the back. Avoid pressing the stitched front directly. Step back and enjoy your beautiful hand-sewn pillow with crisp seams, neat corners, and a decorative trim.
